Thursday, June 27, 2024

Seize The Birthday - Add A Star


Hey, peeps, it's time for a new challenge at Seize The Birthday.  Cathy is our host for this challenge and she wants us to add a star to our birthday project.


This card sort of fell together.  I've been having a massive sort-out in my craft room (but you'd never know it), and the white and red panel had landed near the red and yellow dotted paper.  The stamped and coloured Eiffel Tower panel was nearby.  I rummaged through my stash of stars and found that this Tim Holtz star mimicked the shape of the Eiffel Tower perfectly.  The penny farthing is a printout that's been in my stash for ages, and the diecut birthday sentiment is from The Stamp Market.

I had to add some bling to my tower to remind me of seeing it light up and sparkle when Jenny and I took a night-time open-top bus trip in Paris last year, quite a magical experience.


Pop on over to the Seize The Birthday blog for some more fabulous inspiration from the team and from our surprise party guests, and join in the fun.  If stars aren't your thing, you can still join in with any birthday-themed project.

Monday, June 24, 2024

Visible Image - Christmas Release


It's Chriiissstmaaasss!  and it's not even July :)

Visible Image have brought out a fabulous Christmas stamps release in plenty of time for you to get ahead with your Christmas cards, and were giving you two whole weeks of inspiration.  For my card I've used two of the stamps, Sketched Baubles and Sketched Backgrounds, which complements the Sketched Baubles set beautifully.


I started by stamping the baubles, string and tops in Versafine Onyx Black, then painted the baubles with PaperArtsy Mattints, which are a tinted glaze.


Next, I prepared my background.


I used the medium circle from Sketched Backgrounds, and starting with the yellow, I stamped randomly around the edges of the card, then the lilac, leaving the blue till last as it's the strongest colour, so I could be more selective with placement.


The tints give a nice translucent colour to the baubles.


Here are all the products I used.


I hope this has inspired you for your Christmas card makes.  The team will be sharing more fabulous Christmas makes over the next two weeks to inspire you, so make sure you don't miss them.  The stamps are available on the Visible Image store.

Thursday, June 13, 2024

Seize The Birthday - Double Stencilling

Hi peeps!  Time for a new challenge at Seize The Birthday and Barbara has chosen Double Stencilling - i.e. add colour through one stencil, and before you lift it, add another stencil on top and add colour through that.

I stamped the image (Imala, Stamps By Me) then added Twisted Citron distress ink through the Tim Holtz Splotches stencil, left that in place and layered the TH Code stencil in Picked Raspberry, then sloshed the same colours onto the dress and added a bit of splatter.  Of course.  And a bit of credit card scratch with black ink.

Pop on over to the Seize The Birthday blog for some more fabulous examples of double stencilling from the design team and our surprise party guests, and join in the fun.

If you don't fancy trying double stencilling, you can always play along with our Anything Goes theme.


Monday, June 10, 2024

Visible Image Enchanted Fairy
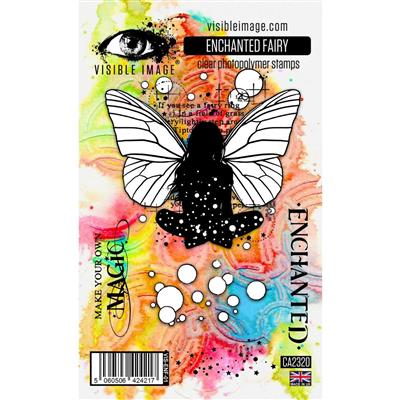

Hi Visible Image fans!  I was away for the new release, and have just got my hands on the lovely goodies, so today I thought I would make some magic with the gorgeous Enchanted Fairy set.


I started by stamping the fairy image onto my card panel using Versafine Onyx Black, and stamped off onto scrap copy paper so that I could make a mask.  Once the mask was in place I sponged the background with distress inks.


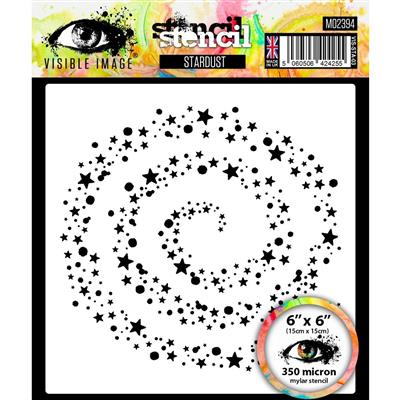
With the mask still in place, I stencilled Brilliance Pearlescent Lavender through the Stardust stencil.


I also spattered some Brilliance Galaxy Gold and Moonlight White on the background.


Then I removed the mask, stamped the stars and added Stickles Crystal to the wings.  The green really shows up against the back outlines of the wings.


I stamped a border using the bubbles stamp from the set, highlighting a few of the bubbles with a white Posca pen, then matted the panel onto holographic mirri card and mounted it onto my card base.


You can see how the green catches the light over the black lines.  

Here's a close-up of the stencilled stars and the shimmer of the pearlescent ink.


And here's a little video catching all the sparkle.


The Enchanted Fairy stamp set and Stardust stencil are available in the Visible Image store along with loads more fabulous designs.

Visible Image Enchanted Fairy Stamp Set

Visible Image Stardust Stencil